Google Analytics: Enhanced E-Commerce [Pictures] Shopify Set-Up Guide
It only takes 15 mins to set-up but most even don't bother setting up and testing Enhanced E-commerce.
Note:
Google Analytics doesn't store data you don't tell it to.
Meaning:
If you realised that you made a mistake a few months down the road, you just lost a few months worth of data.
Step 0: Removing any unintended code (Optional)
If you got an agency or a new developer to set-up your Shopify store for you, they might have accidentally added the Google Analytics snippet in the themes.
Head over to Themes > Edit Code
Search for Tracking Tags
Try to do a CTRL + F search for the following terms:
-
ga.js -
dc.js -
gtag.js -
analytics.js
[insert image]
Usually these terms are put under the "Layout", {/theme.liquid}
Step 1: Google Account
Head to Google Analytics.
You will be prompted to login with your Google Account. (Create a Google Account if you don't have one)
If you've used this Google Account before:
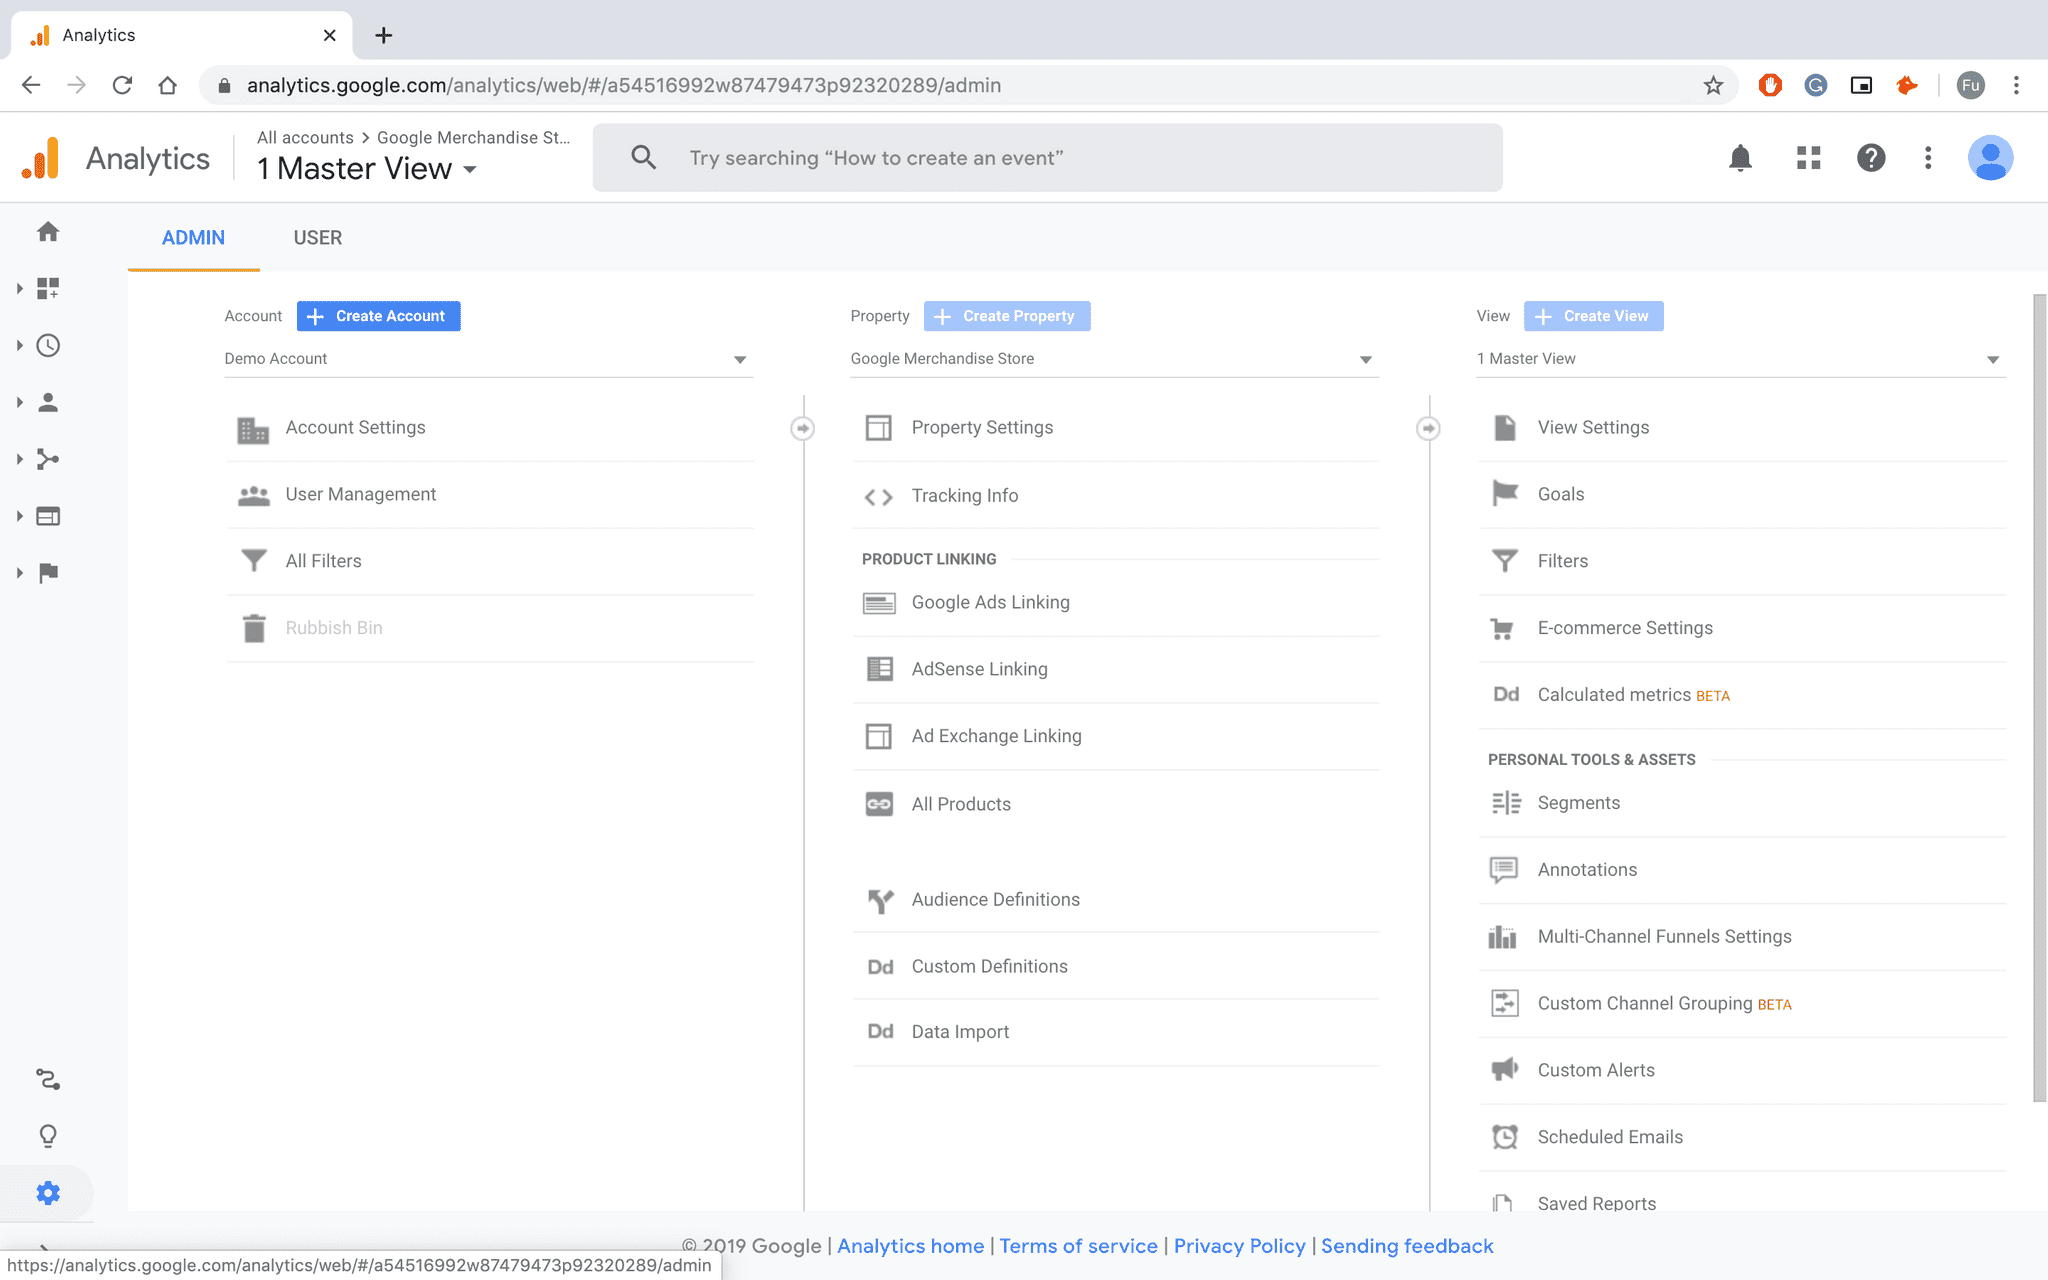
Navigate to the Admin tab in the bottom-left corner.
If you've haven't:
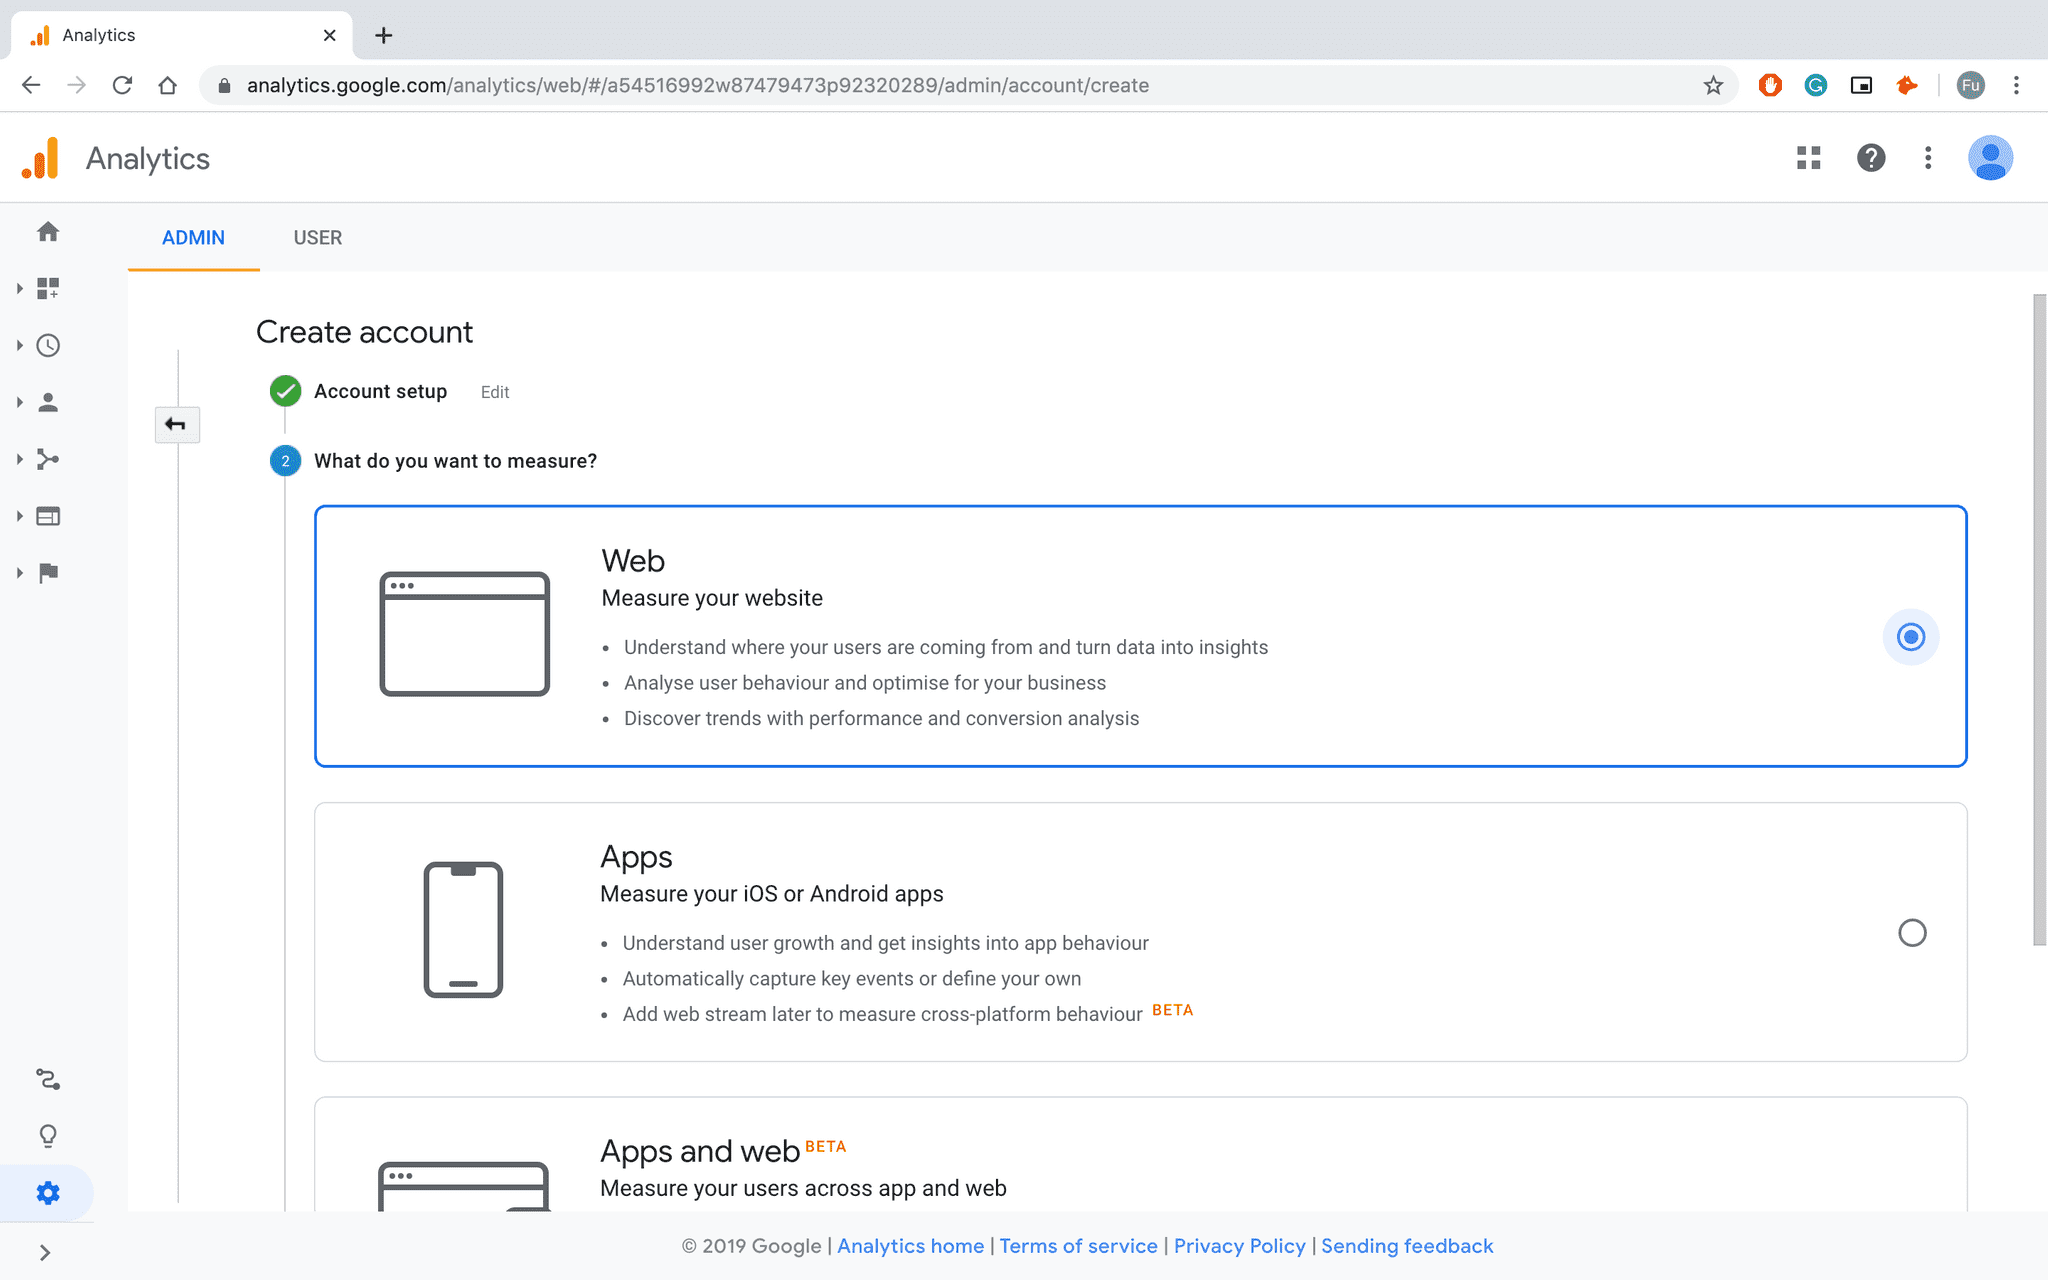
Create a new Account (column on the left)
Set up your webpage
Key in your Shopify URL and select the most relevant industry
Agree to their terms
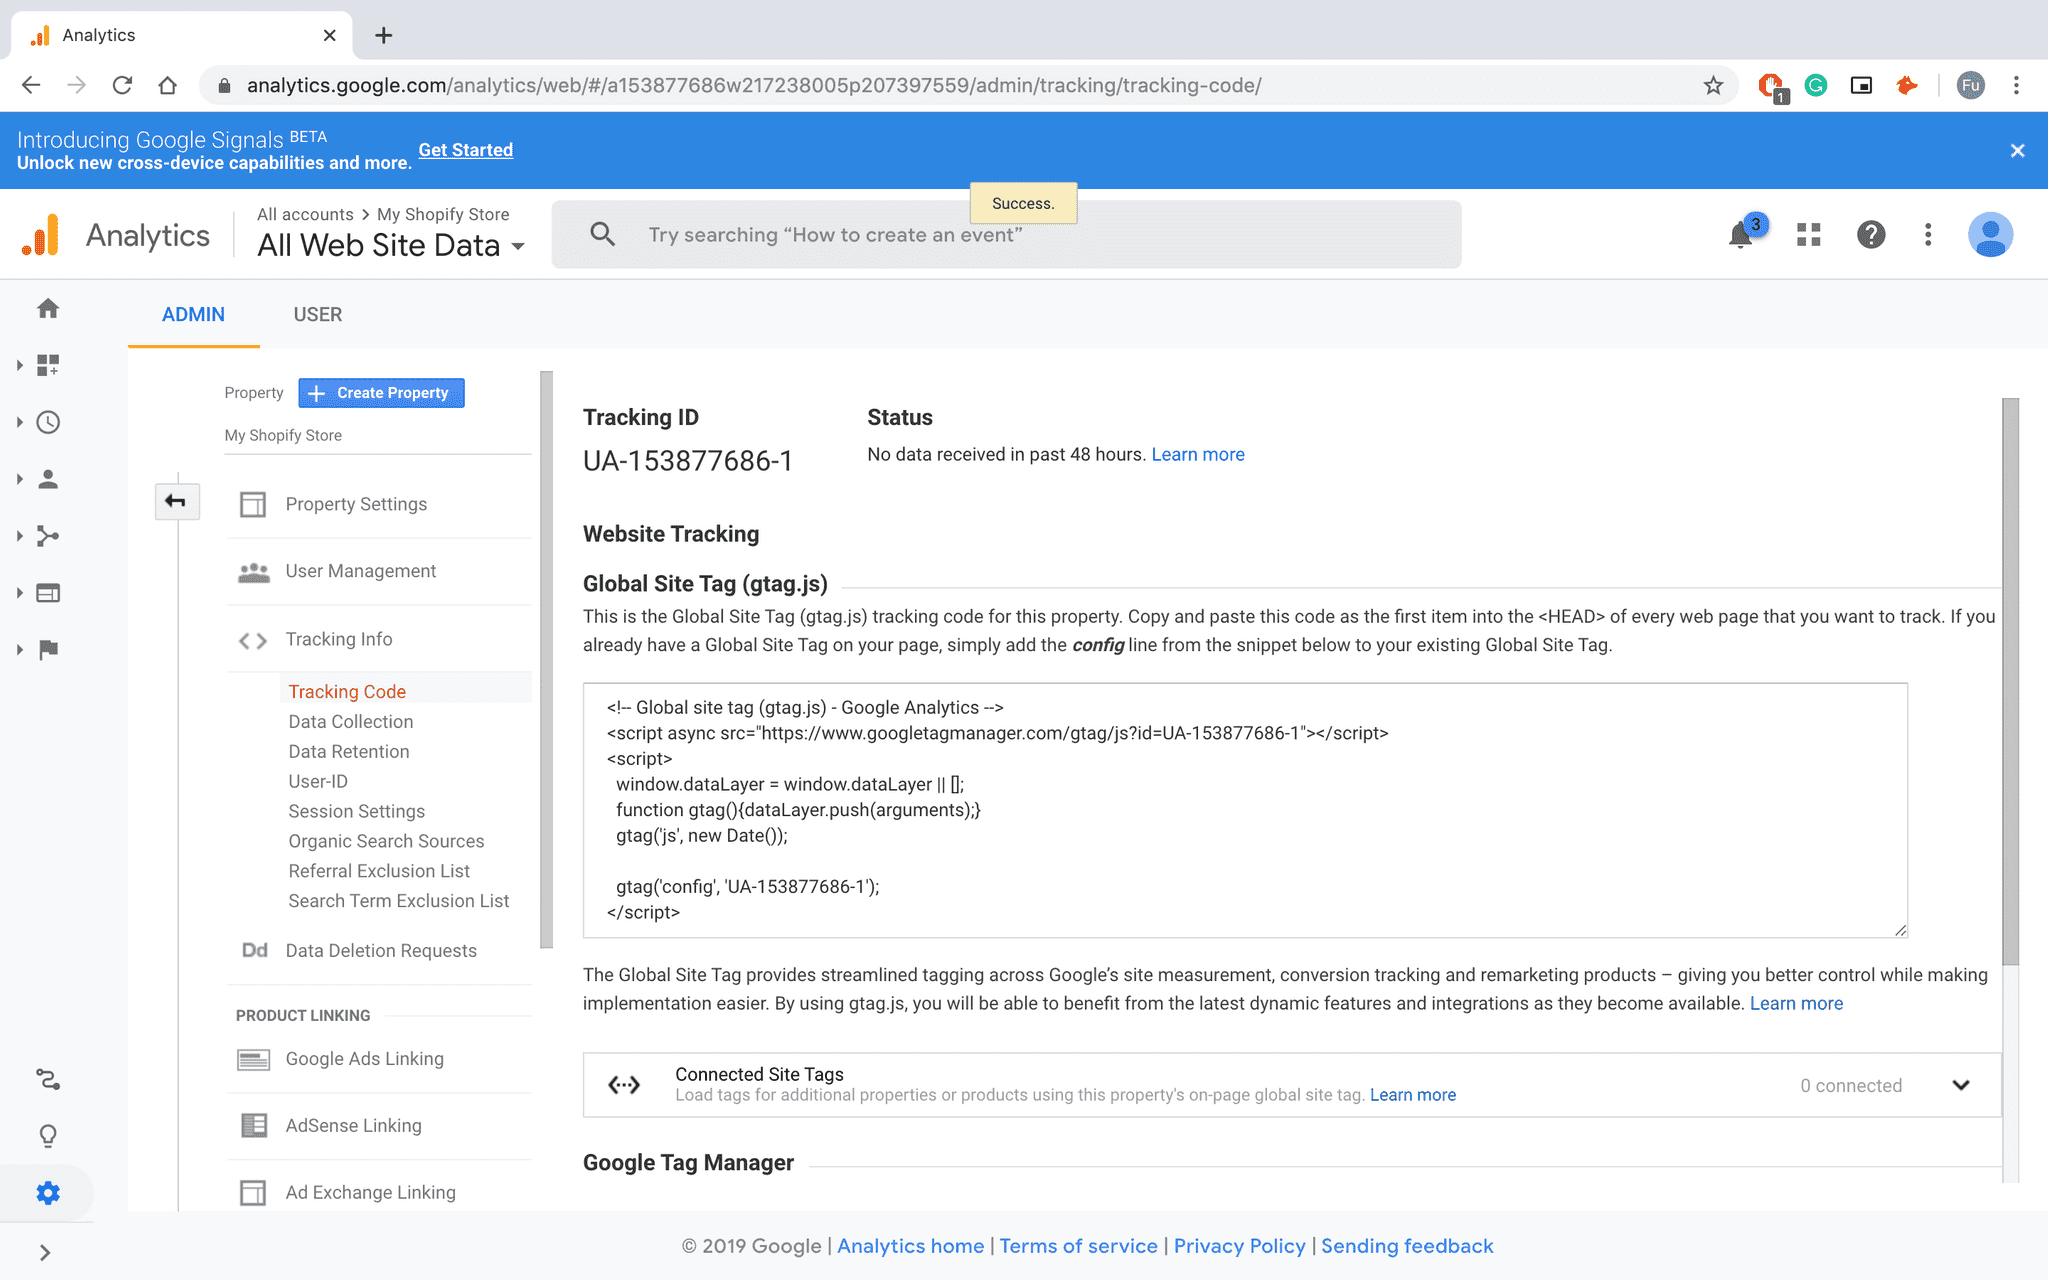
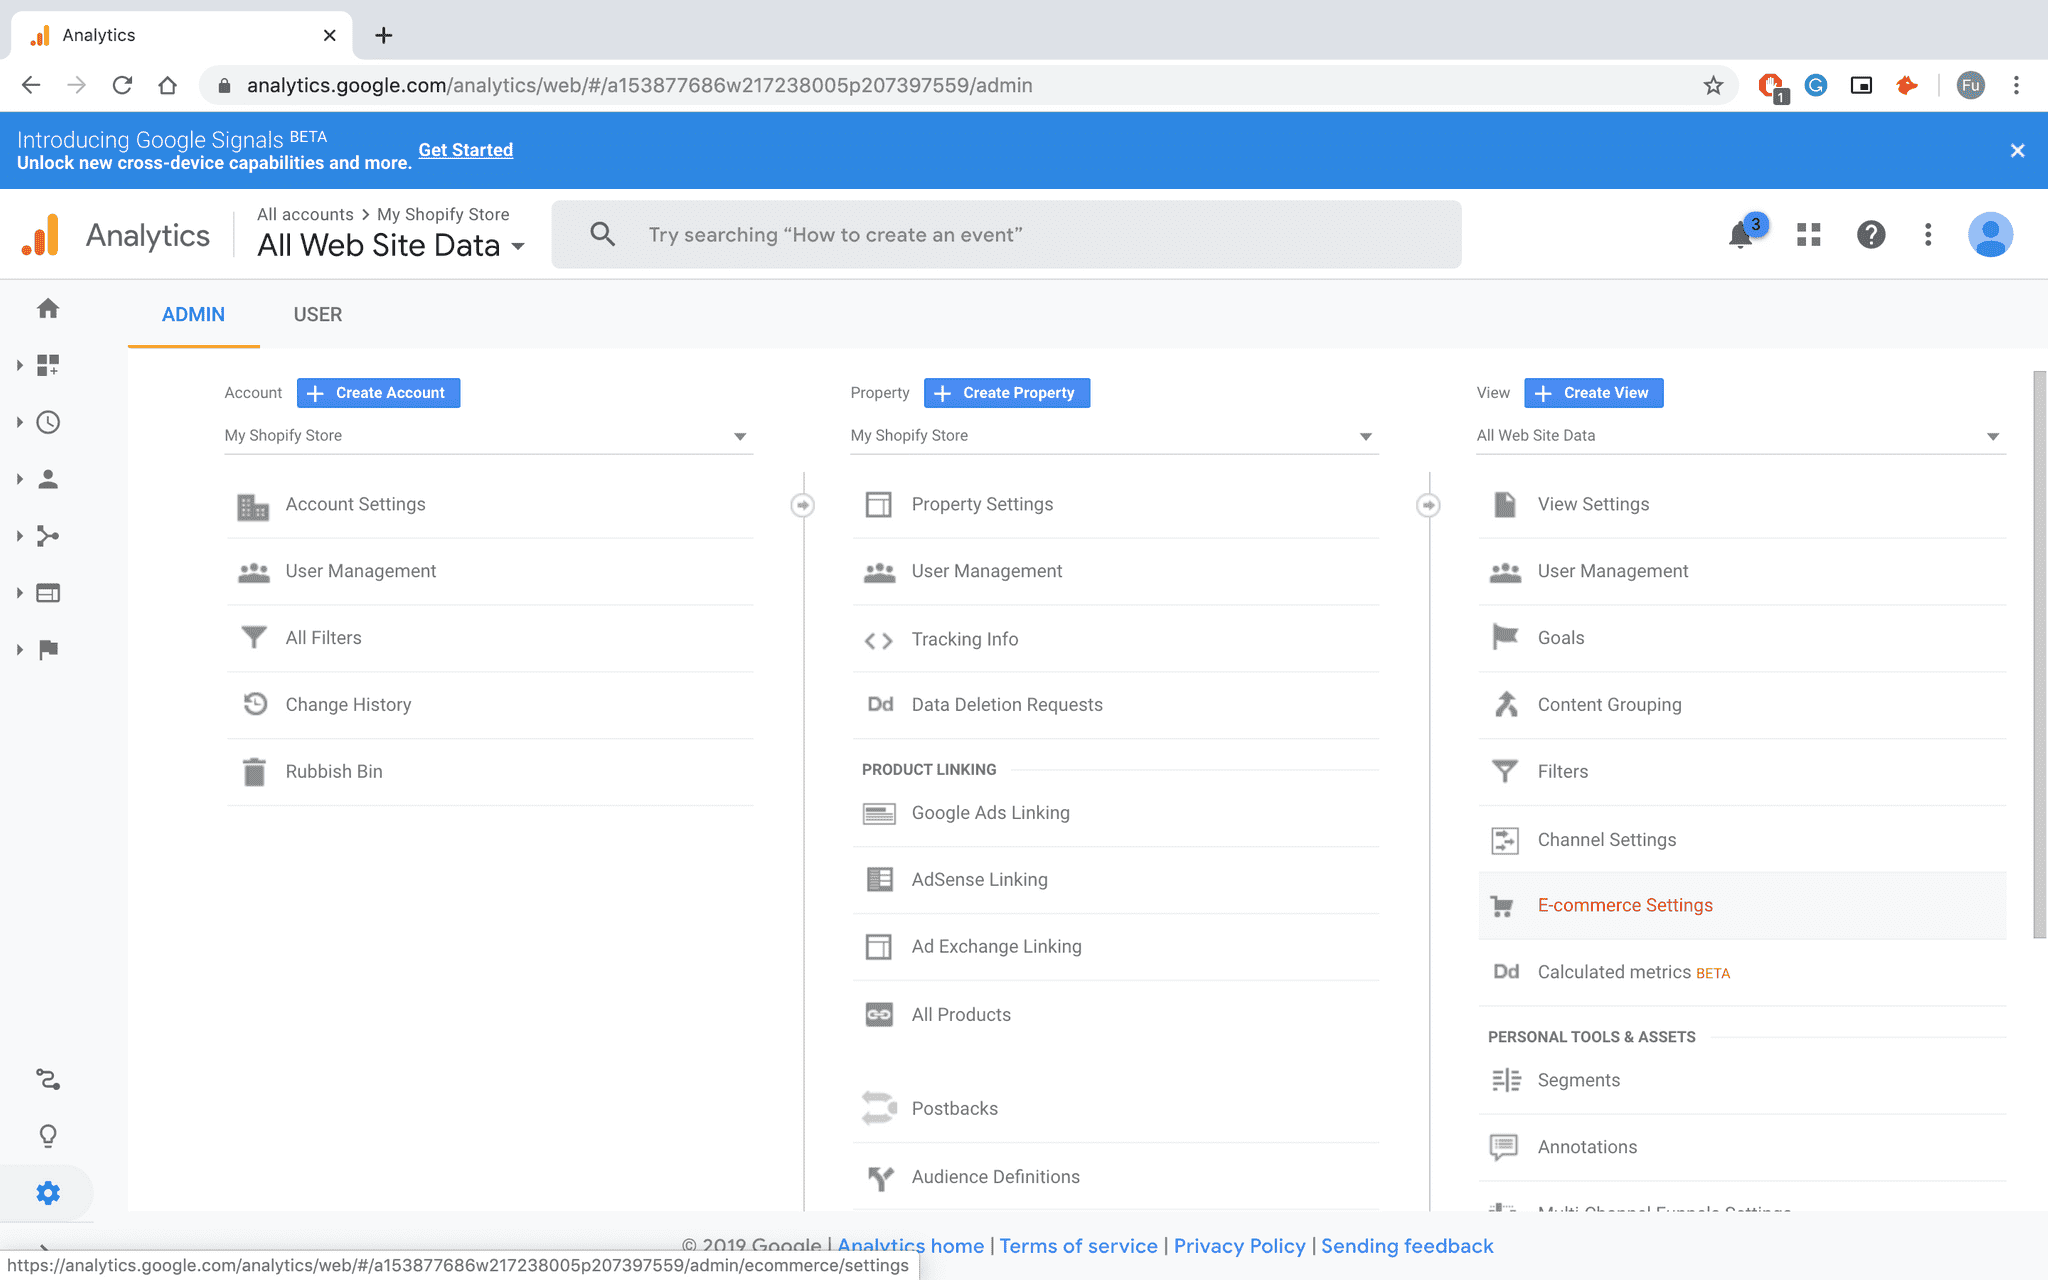
You should see something like this:
Step 2: Enhanced E-commerce
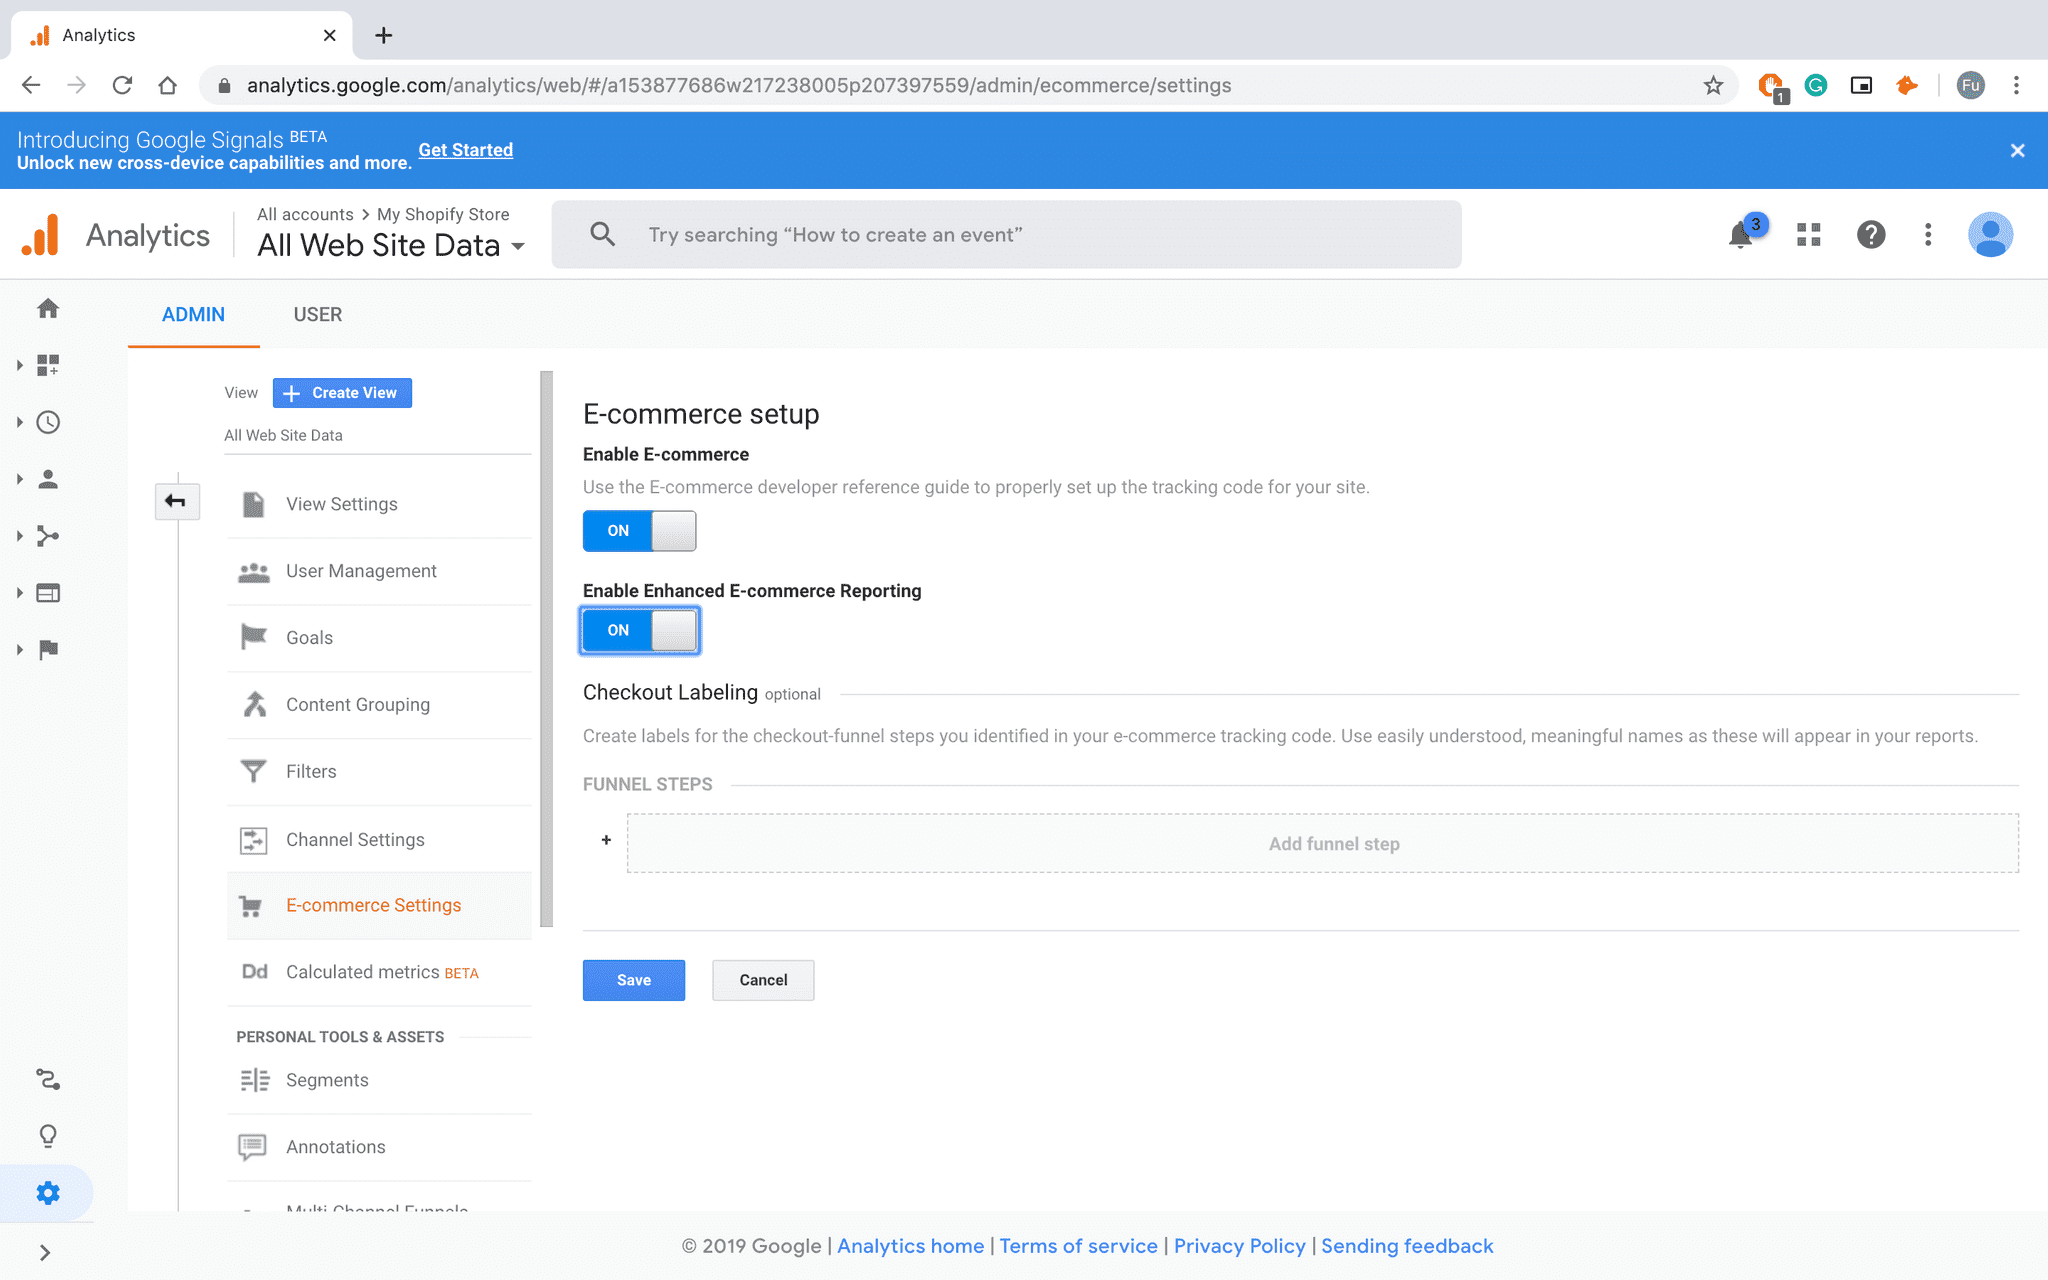
Back on the main Admin page, look for E-commerce Settings under the right-most column (Users).
Turn these settings on. Ignore checkout labelling
Step 3: Goals
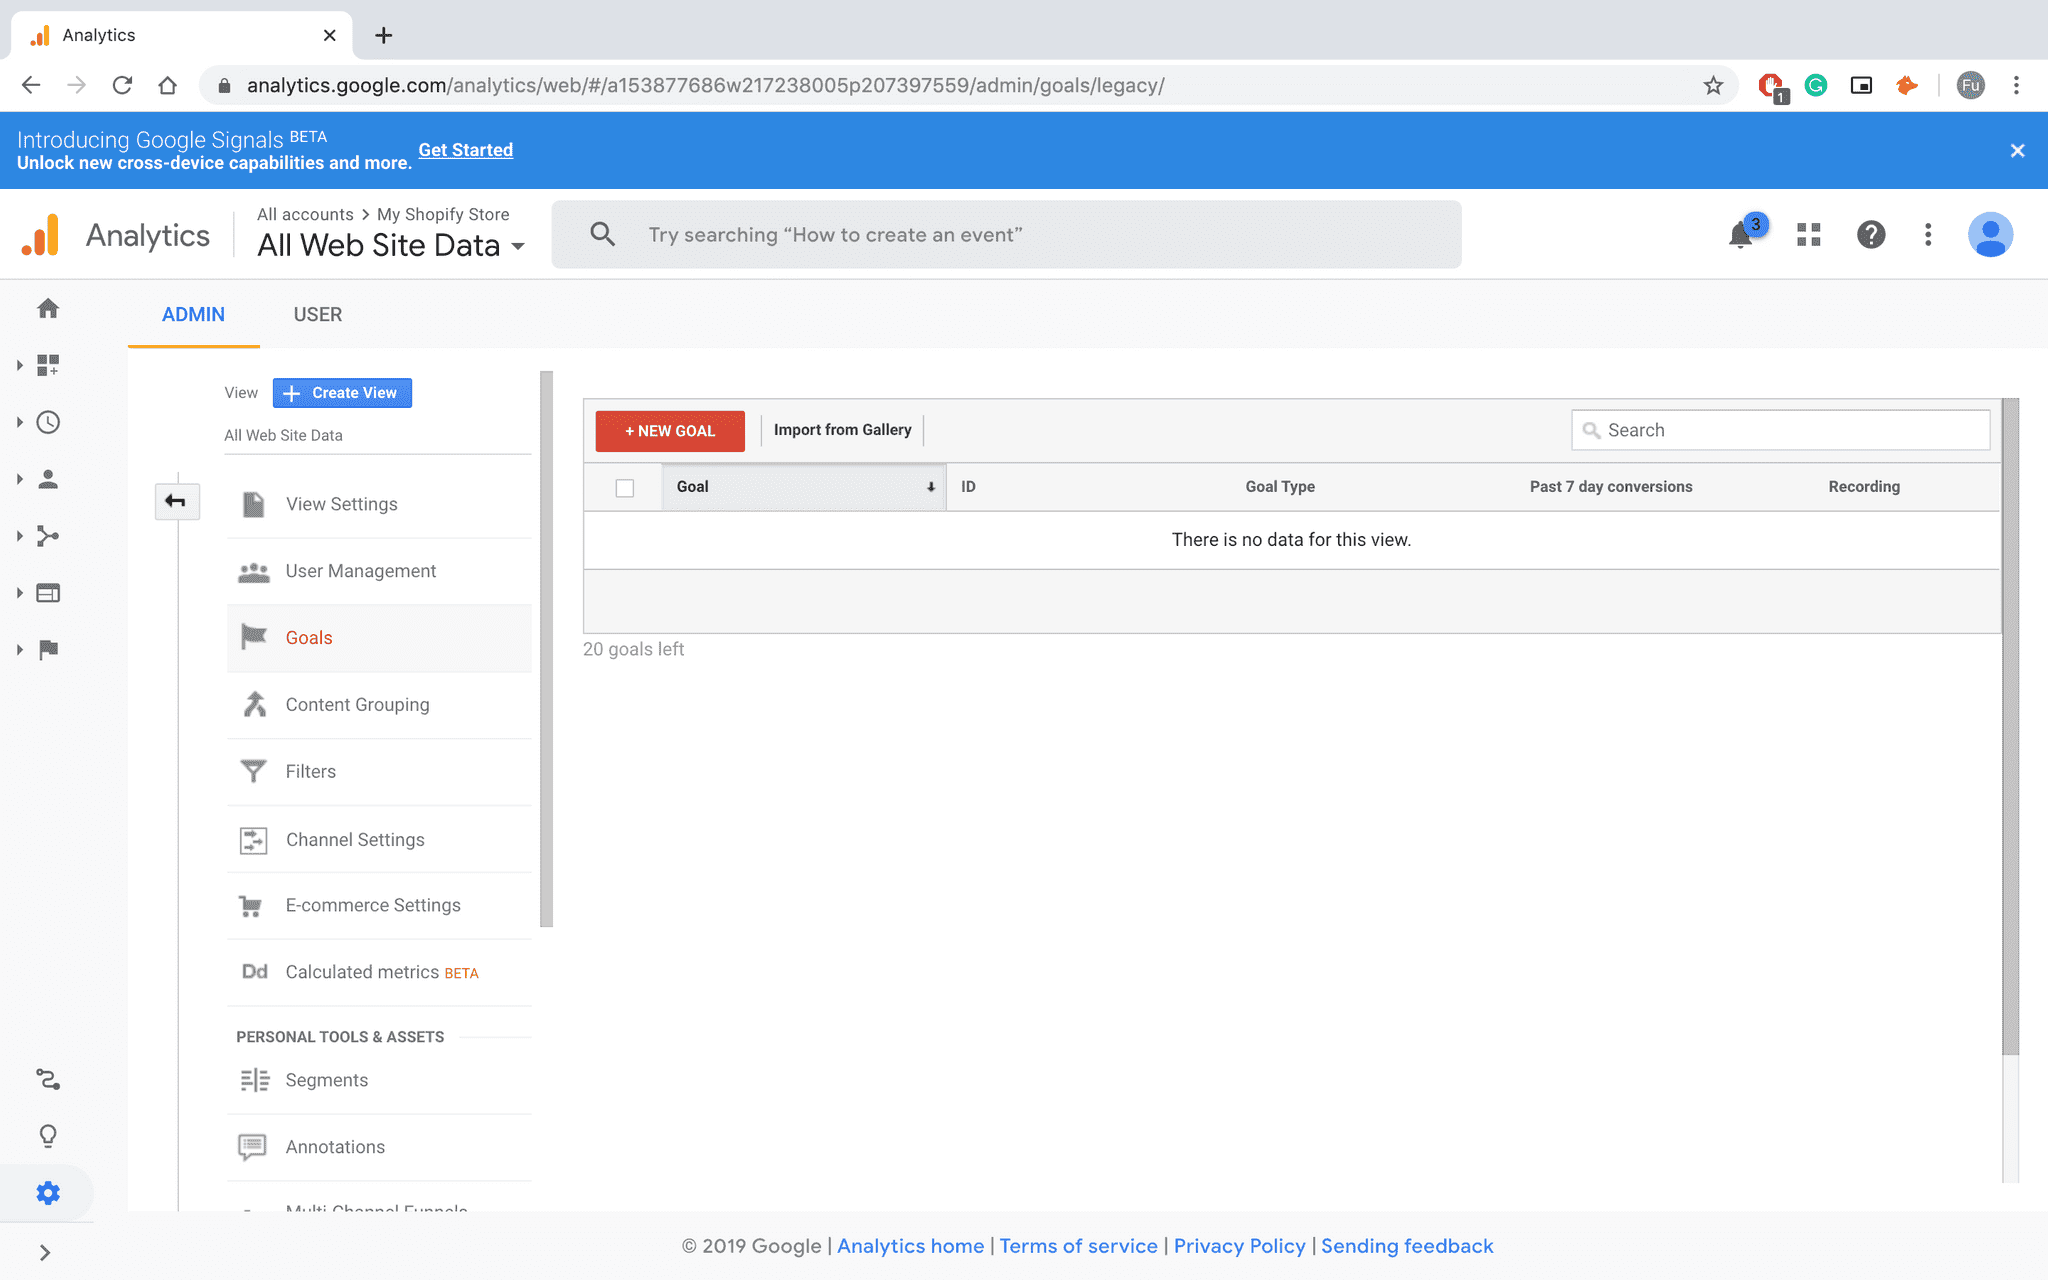
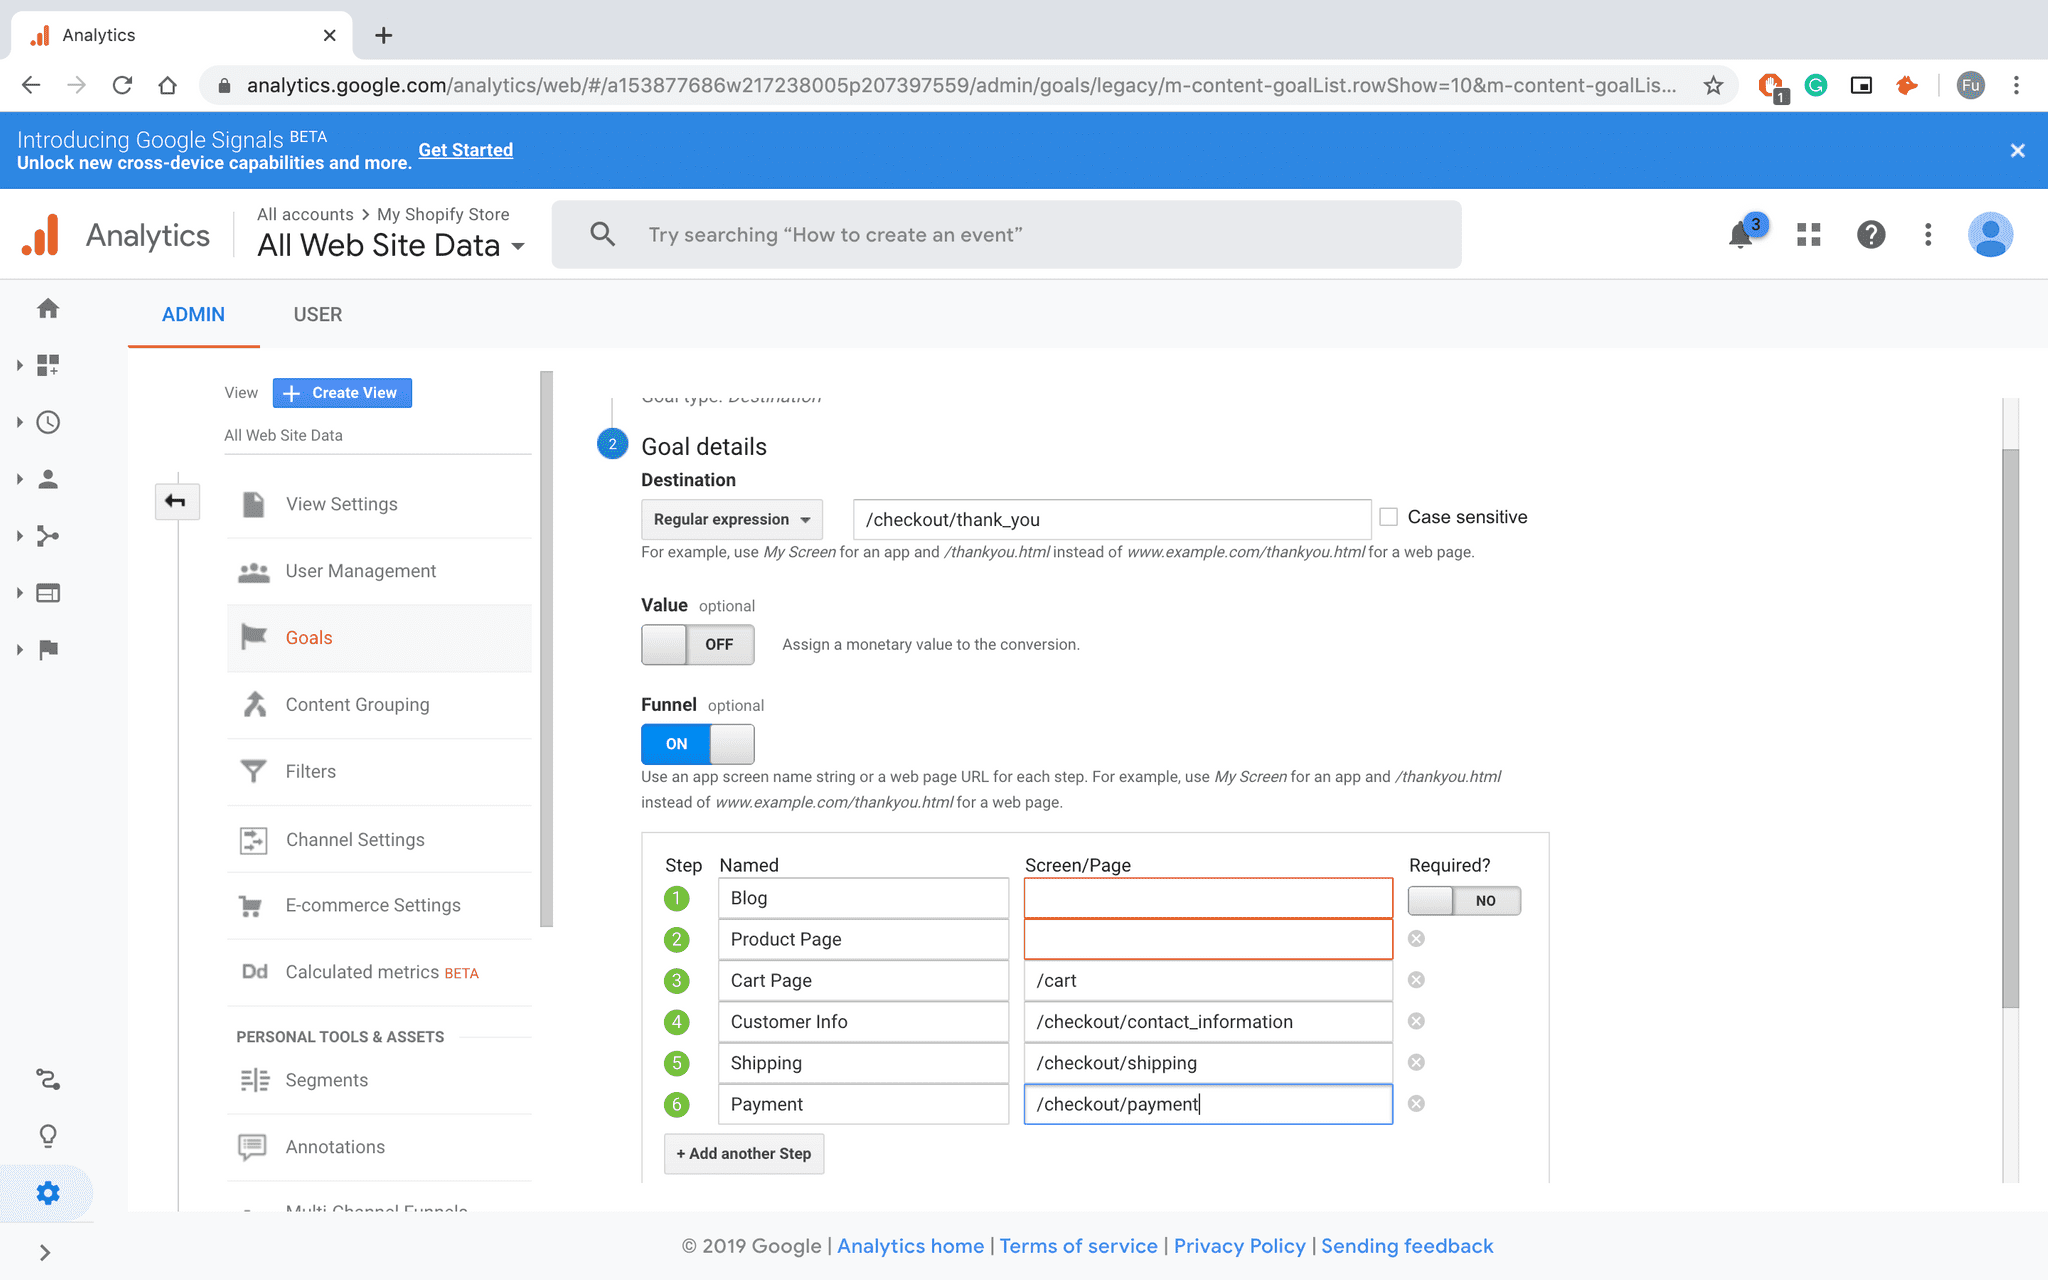
On the same column, look for Goals. Select "New Goal"
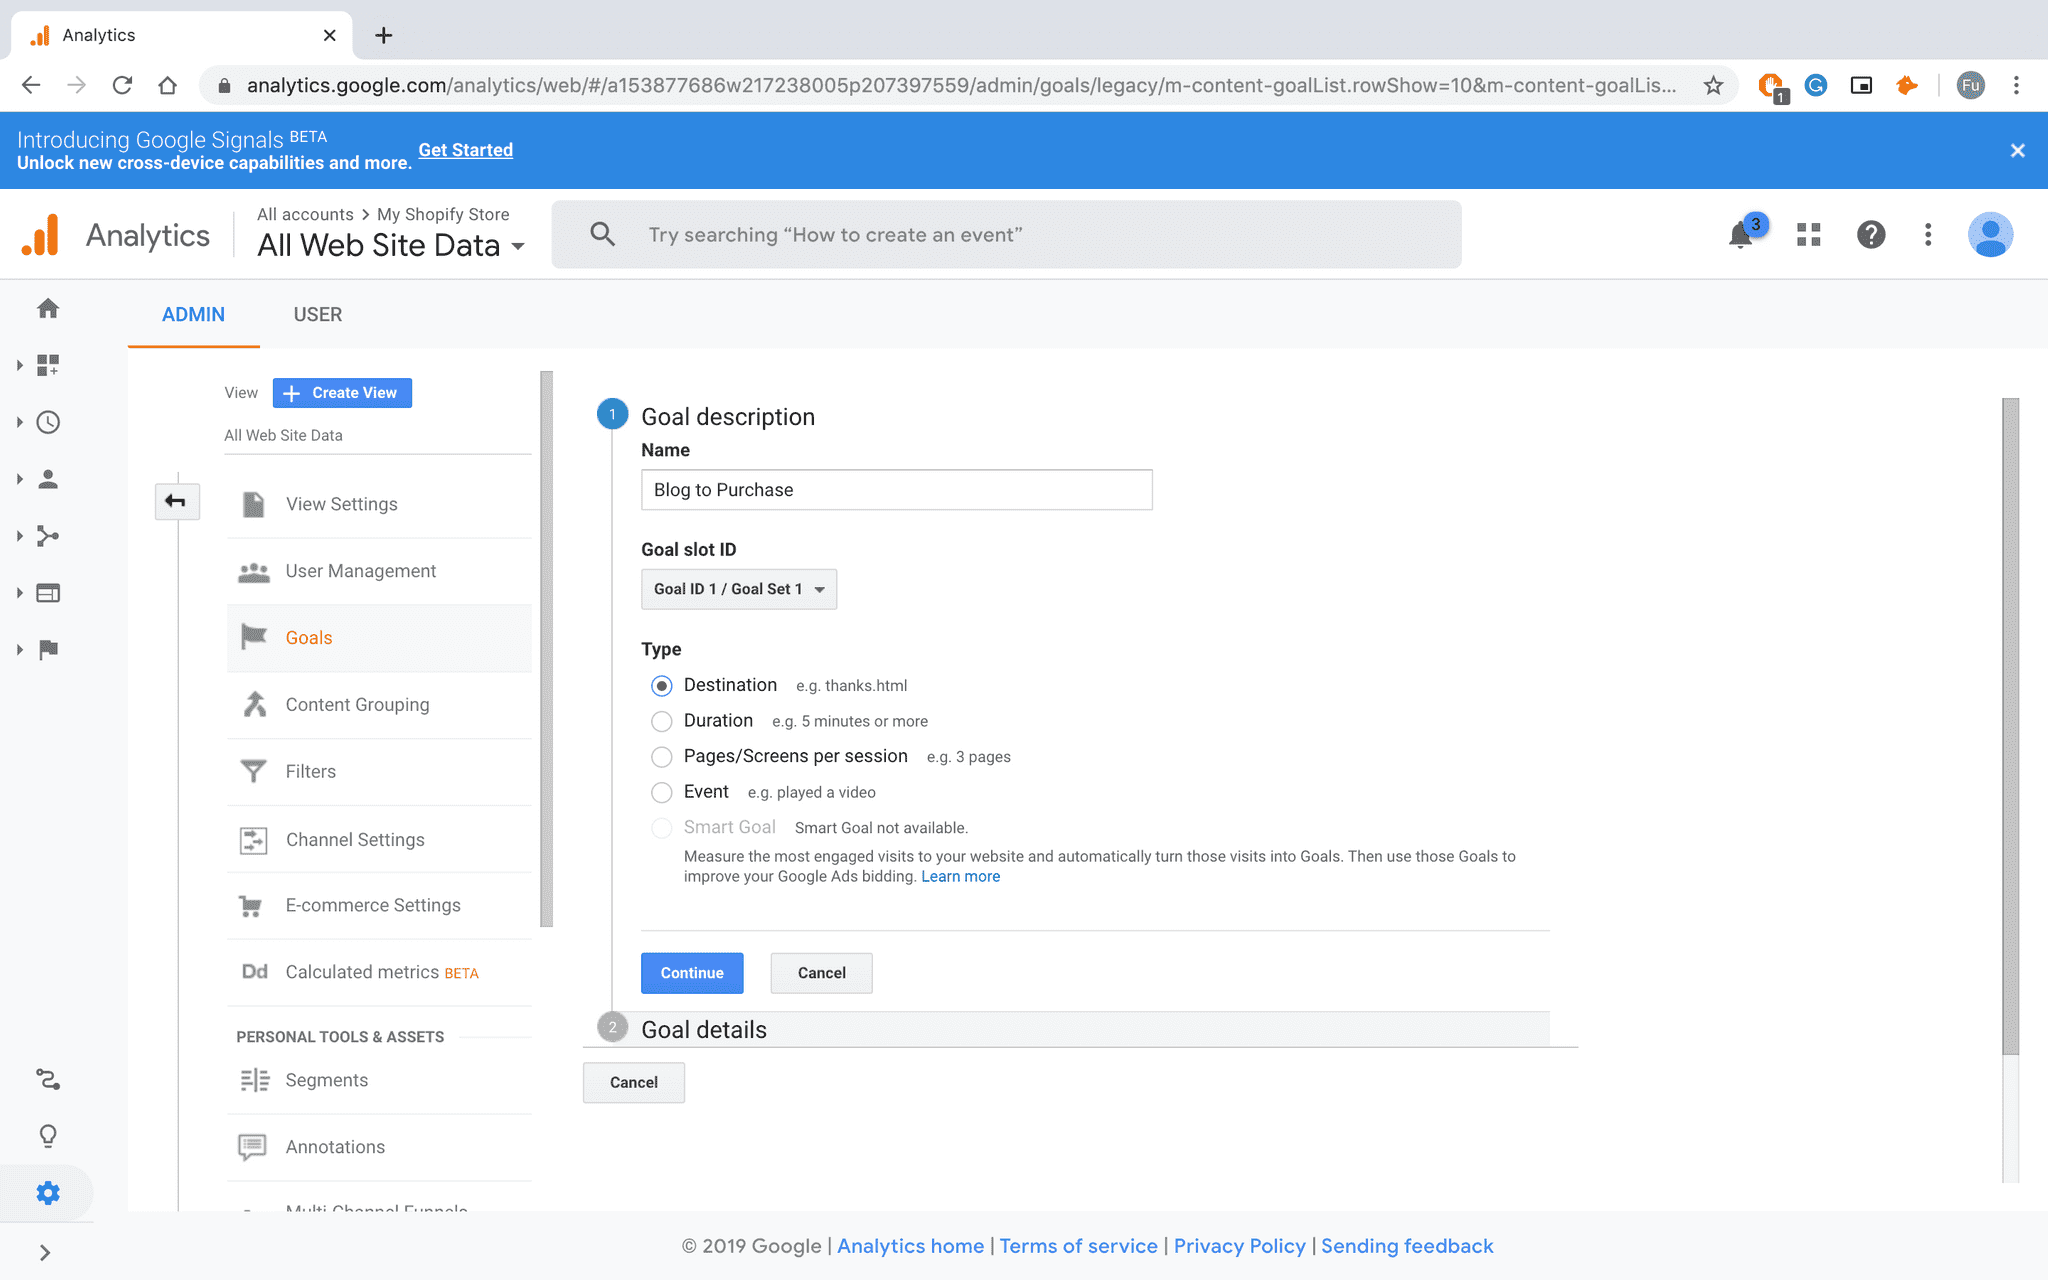
Example Goal: From blog post to checkout. Select Destination
(Skip Blog & Product if you just want to represent the last few steps)
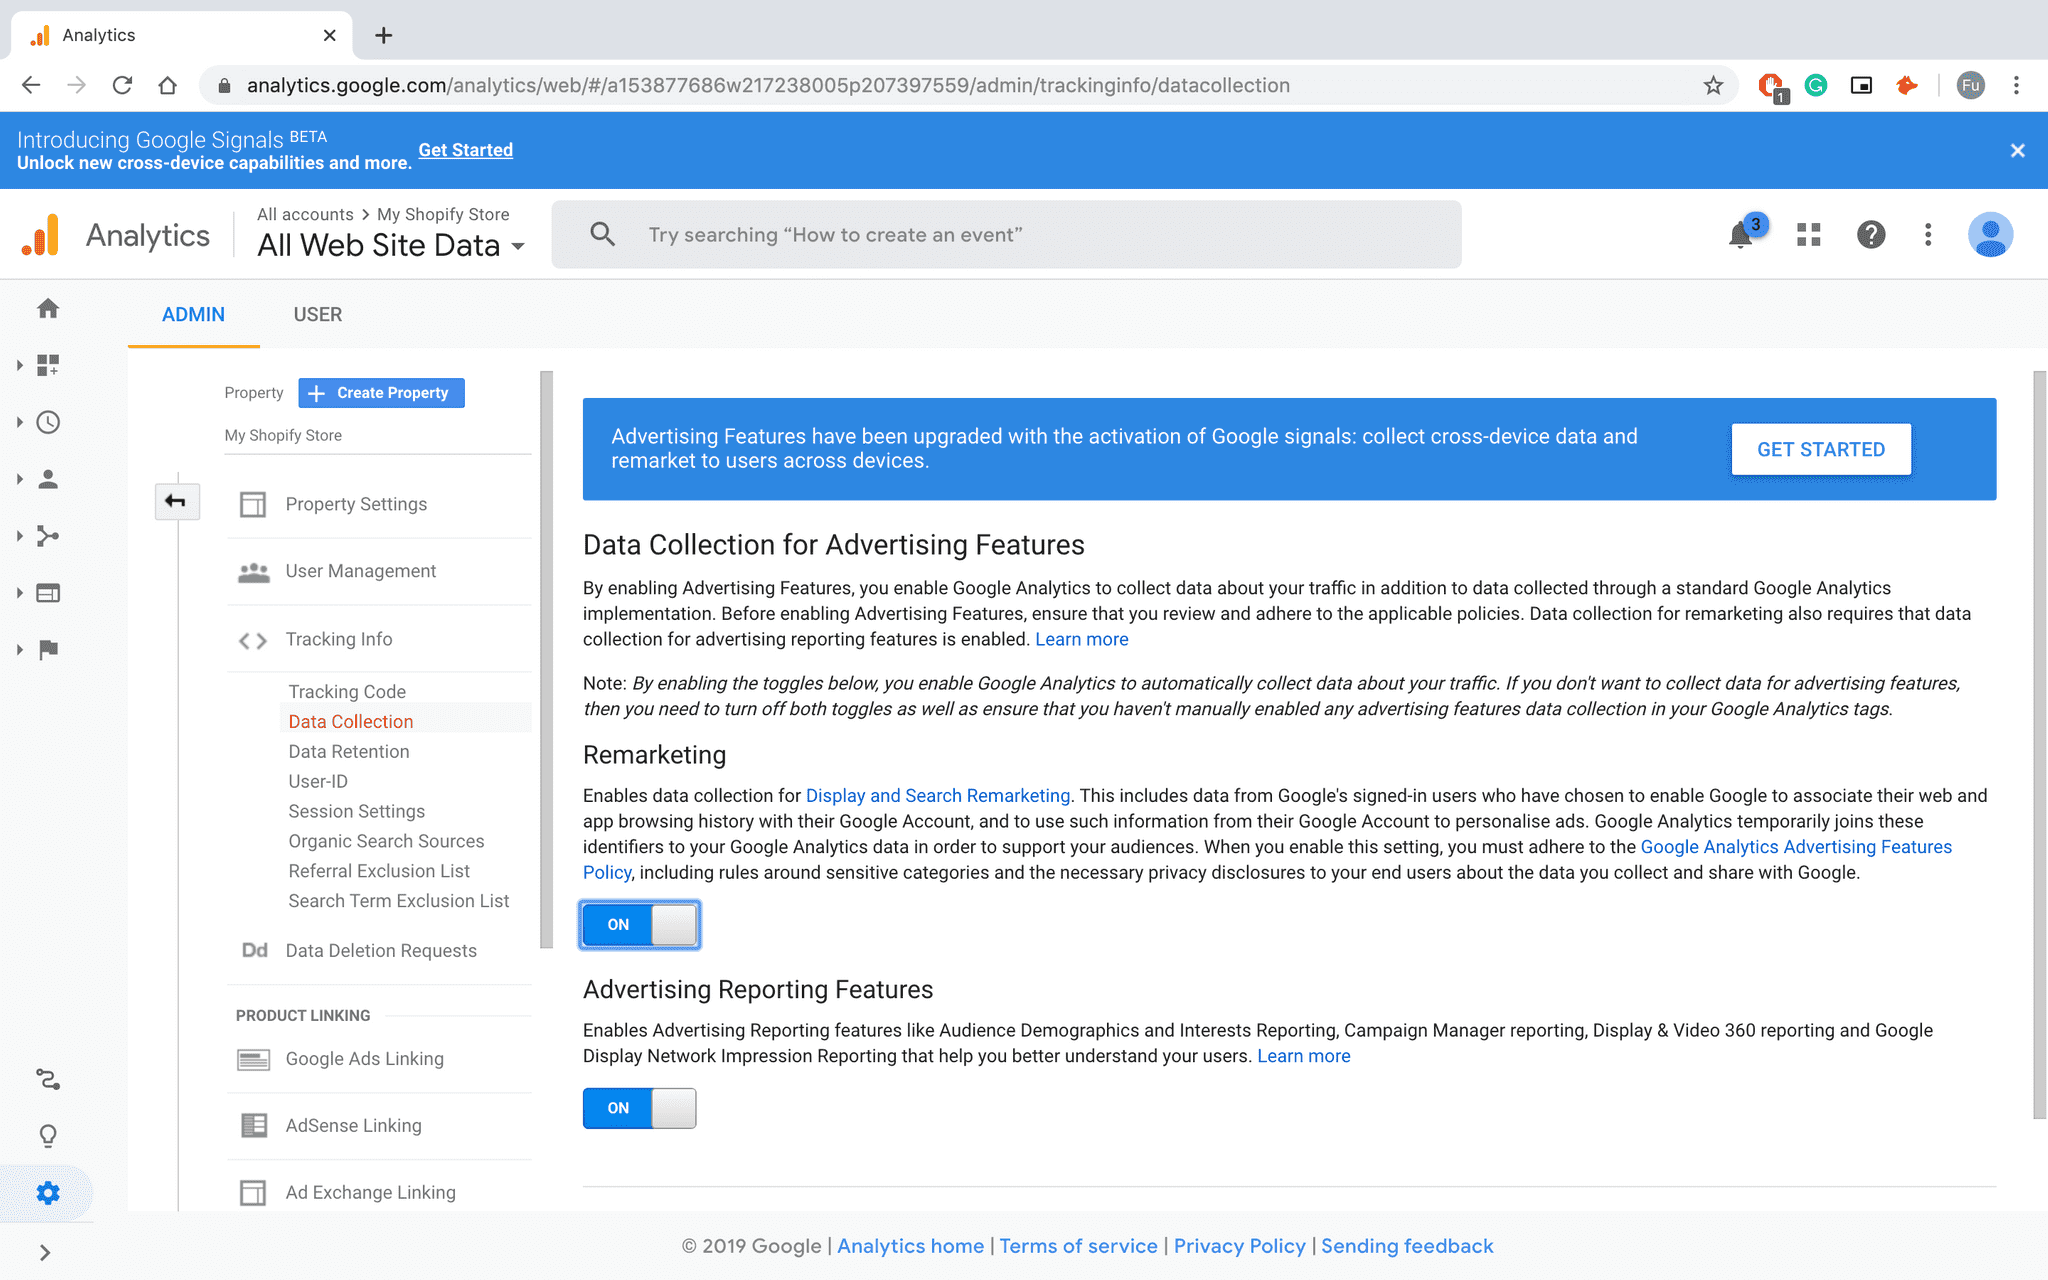
Step 3.1: Re-marketing (Optional)
If you ever plan to do any re-marketing, under the Admin > Data collection tab, turn these services on.
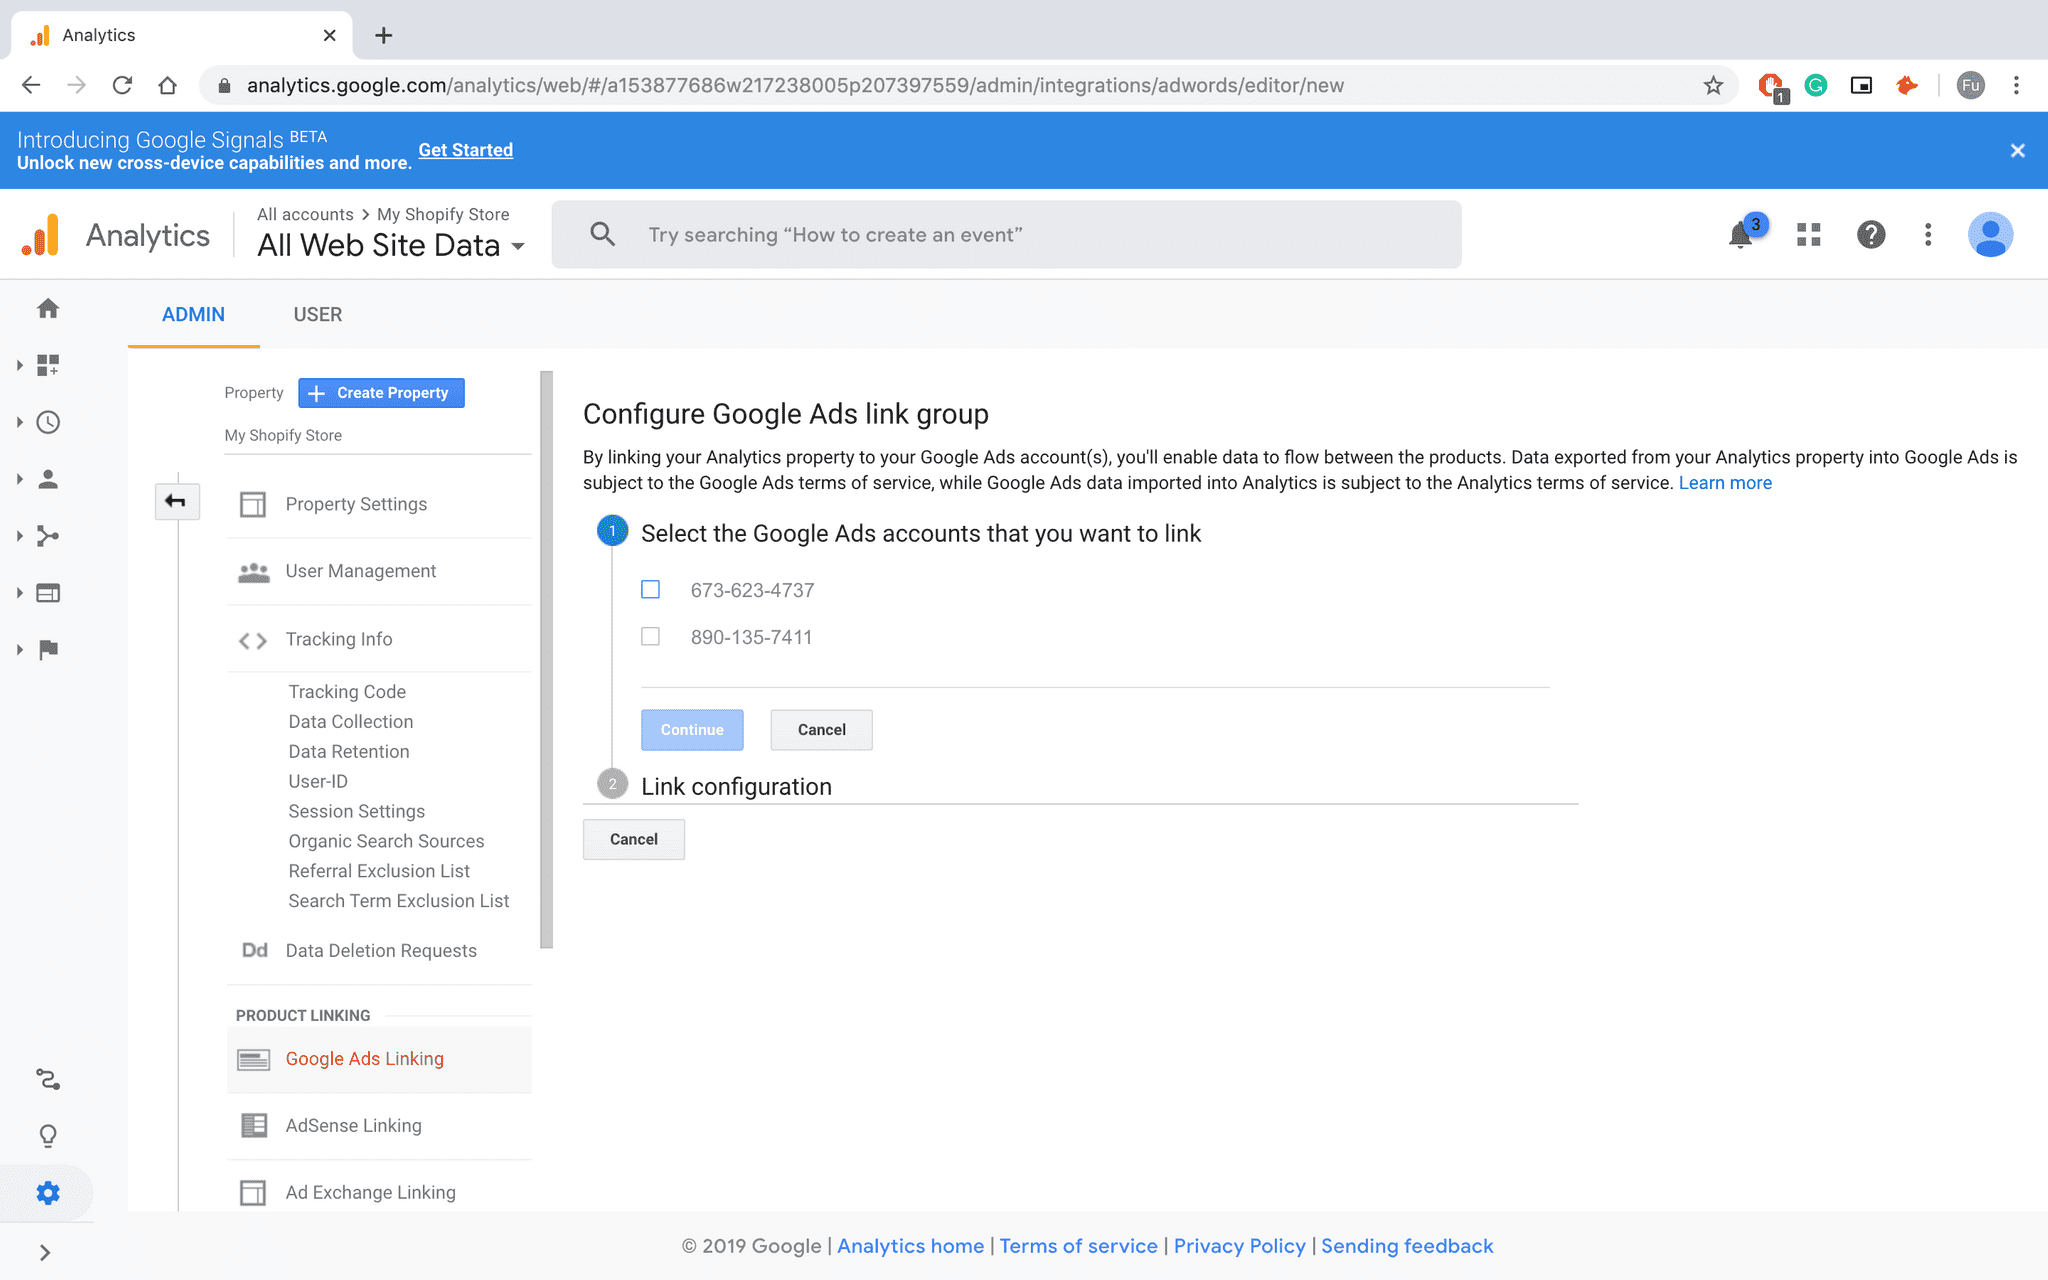
Step 3.2: Google Ads (Optional)
If you ever plan to do any Google Ads, under the Admin > Google Ads Sense Linking tab, turn these services on.
Step 4: Shopify
Remember this code snippet?
Head back to your Shopify portal. Go to Online store > Preferences.
In the Google Analytics section, paste your global site tag in the Google Analytics account field:
Select the box "Use Enhanced E-commerce"
Step 5: Testing
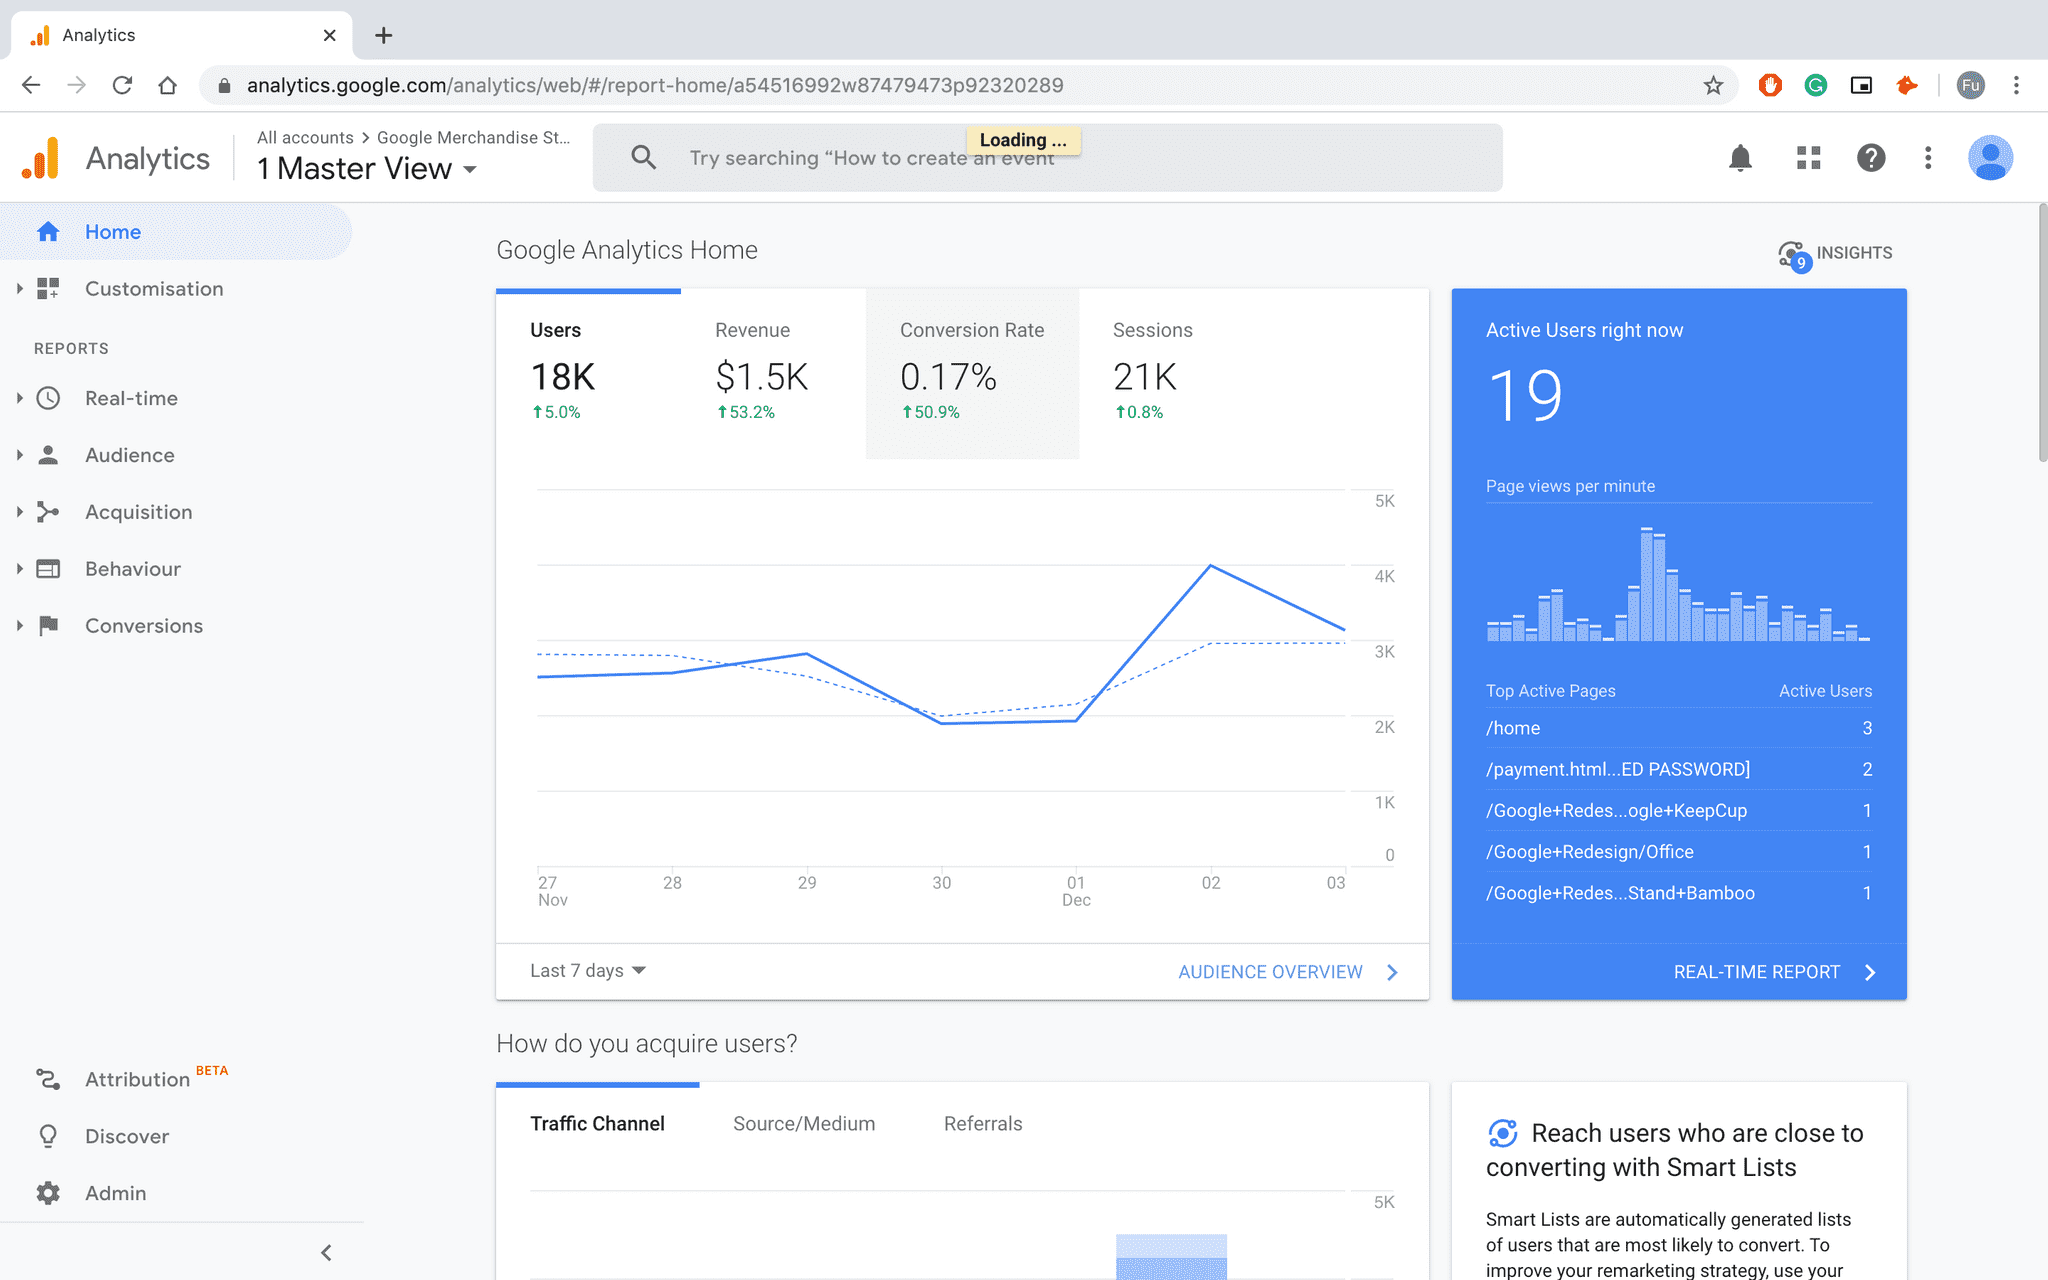
Go to the landing page of your website and head back to Google Analytics
After a couple of seconds you should see yourself as a "Active Users right now"
This means you are all set.
For more advanced testing, head to the Chrome store to use the tag assistant here.
Plus watch this video made by Google.
https://www.youtube.com/watch?v=7FXbsCWsEi8
Tags
Learn more about strategies & tactics from the
product marketing perspective
Delivered once a week to your inbox

